Tips and Tricks when Card Making
Ideas to Keep in Mind
· When making cards and adding embellishments, remember the rule of 3. Adding items like brads or buttons in odd numbers is more pleasing to the eye
· If you are doing random stamping, stamp in a triangle pattern. It will look random but also still remain pleasing to the eye
· When random stamping a page to decorate it, ensure you stamp some items off the side to look more authentic. To do this, overlap your paper on a scrap paper so that your work surface is protected when the stamp goes off the page. Remember to turn your page as you work so your stamping is upside down, sideways and diagonal as well as up and down.
· Ensure when stamping you have a foam pad or something under your work to help create a cleaner image
· Distressing your paper will take your cards to the next level. You can try sanding techniques, use an edge distresser on the edges, or use ink and different tools to apply the ink to the edges of the paper
· If you start making a lot of cards, a good investment is a good paper trimmer with clear markings for measurement and also a scoring attachment to help you easily make your card bases.
Ways to Save Money when Making your own Cards
· Often you can get plain white cardstock in bulk much cheaper than coloured ones. Use that for your card base and add the colour to your front with patterned paper. If you really want a specific colour of card, cut your coloured card stock for the area you need to cover the front.
· Watch for sales- at Michael’s you can use the 40% off coupon in the flyer each week to save money on supplies. When buying a stack of paper, be careful! Cheaper isn’t always better! Some stacks will only have a few nice papers and the rest are junk. So ensure you look through them first and ensure before you buy it that you would use a good portion of the papers. If not, that isn’t a good use of your money, even on sale! Wondering what to do with the few papers you don’t love- give them to your kids to make their own cards! You’ll save money on cards for parties they attend and they will be proud of the work they have done. Plus… you can keep them busy while you are trying to craft J
· If you are not able to purchase a large selection of ink colours, start with your basics. Brown and Black can be used with any colour paper and are a good place to start. Then from there pick colours you use more often.
· Use generational stamping in order to increase your ink options. The first time you stamp your image is “1st generation”. If you stamp it again without re-inking your stamp, that is “2nd generation” and so on. Using this technique, one colour of ink will give you different intensities and make it seem like different colours
Where to get Ideas for Making Cards
· The internet is your best friend for getting free ideas for any types of crafts. Just do a Google search for Free Card Ideas or anything like that and you will get lots of ideas popping up.
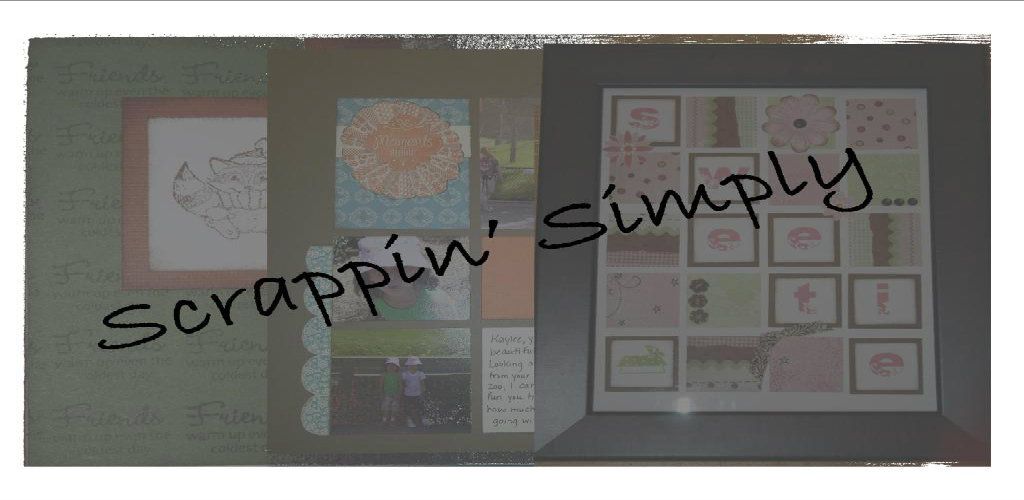
· My blog (which I am still busy adding things to- so check back often) has a list of blogs which I follow. Each of the people add to their blog regularly with cards or pages they have created. Also the Close to my Heart consultants have a Blog Hop each month where you can link to over 50 consultants doing different creations with the Stamp of the Month. It’s a great place to find ideas. Even if you don’t have the products they use, take the ideas and make them your own with what you have. Remember- be flexible! My blog address is http://www.scrappinsimply.blogspot.com/.
· If you are looking for templates for any type of paper crafting, check out http://www.splitcoaststampers.com/resources for many great FREE ideas
· http://www.free-cardmaking.com/ is a site that has free ideas. You can sign up as well for a regular email. There are free projects of the day and lots of great ideas. Again- remember you can take the ideas and make them your own based on the supplies you have available to you.
· Look for catalogues, magazines, etc which you can get copies of. Some companies or consultants will charge for their catalogues. Some consultants will give the books away. My policy is I will lend a copy or you can have a copy for free if you will be placing an order. Often consultants will have older books they are willing to give away which you can use for ideas as well.
· Check out websites for scrapbooking supplies and products such as http://www.closetomyheart.com/. Even if you don’t want to buy the products, you can see ideas which you can make your own.
· There are many scrapbooking and card making books you can buy. I love the ones from Close to my Heart as they give examples of many sizes and also tell you how to cut the paper, making it very easy and quick to follow.
· Just by changing the paper and stamps you have a completely different card. So use previous cards you have made as a template and change it up for the current event.
Other things to Keep in Mind
· Remember the supplies you use for card making are different than if you are scrapbooking. Once you introduce pictures, you need to be careful to ensure what you use will be safe for the photos over time. So where glue stick would be fine for making cards, you may want to invest in an adhesive for scrapbooking when doing pages. Also additions like stickers and other embellishments can also be harmful to photos. If you want to be absolutely safe, only use items which say they are safe for scrapbooking.
· Certain companies do a lot of the hard work for you by selling a kit of paper including card stock and patterned paper which include all coordinating colours. That way you don’t have to take the time to try and match your papers. They often also will indicate what colours of ink work with those papers so they take the guess work out of it for you. This can save a lot of time if you don’t have a lot when crafting.
· Some patterned papers have patterns on both sides of the paper which increase your options when crafting. Often they will have a similar pattern on both sides but one side will have multiple colours where the 2nd will be a single colour.
For questions feel free to contact me:
Shannon Stephens
TECHNIQUE- STAMP KISSING
See Jeanette's post regarding this neat technique. You can find it here.